Form settings
 1 min read
Form settings
Introduction
Forms are used to collect user information — from messages and feedback to sign-ups or applications. Each form in the template comes ready to use and can be customized directly in Framer without editing the code.
Below we will look at all the form options that are used in the project with detailed information on how to configure them correctly.
Contact form
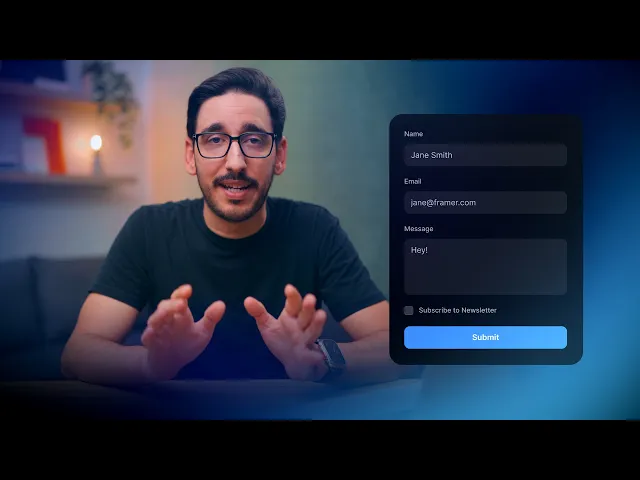
The Contact form is designed to let visitors quickly send messages, feedback, or inquiries directly from the website. It collects essential details like name, email, and message, and can be connected to any preferred submission or automation service.
The contact form is used on the contacts page.

Go inside the "Contact form" component by double-clicking, then click on the form and replace the email with your own in the right panel.
Additionally, you can configure the number of fields, for example, add or delete a new field.

Book a Demo
The Book a demo form allows users to request a personalized product demonstration. It helps collect contact details and scheduling preferences, so the team can reach out and arrange a demo session.
The book a demo form is used on the book a demo page.

Job application form
The Job application form is used for submitting applications for open positions. It collects key candidate details such as name, contact information, experience, and portfolio links directly through the website.
The job application form is used on the career page.

Waitlist
The Waitlist form lets users sign up to be notified when a product, feature, or service becomes available. It helps collect early interest and build an audience before launch.
The waitlist form is used on the waitlist page.

Modal
Forms such as the waitlist, after submitting the form, show a modal window with a message about the successful submission of the form.
You can find and edit it if you select the form and click "Overlay" in the right pane of the Framer

Last updated on
October 20, 2025